Product Description
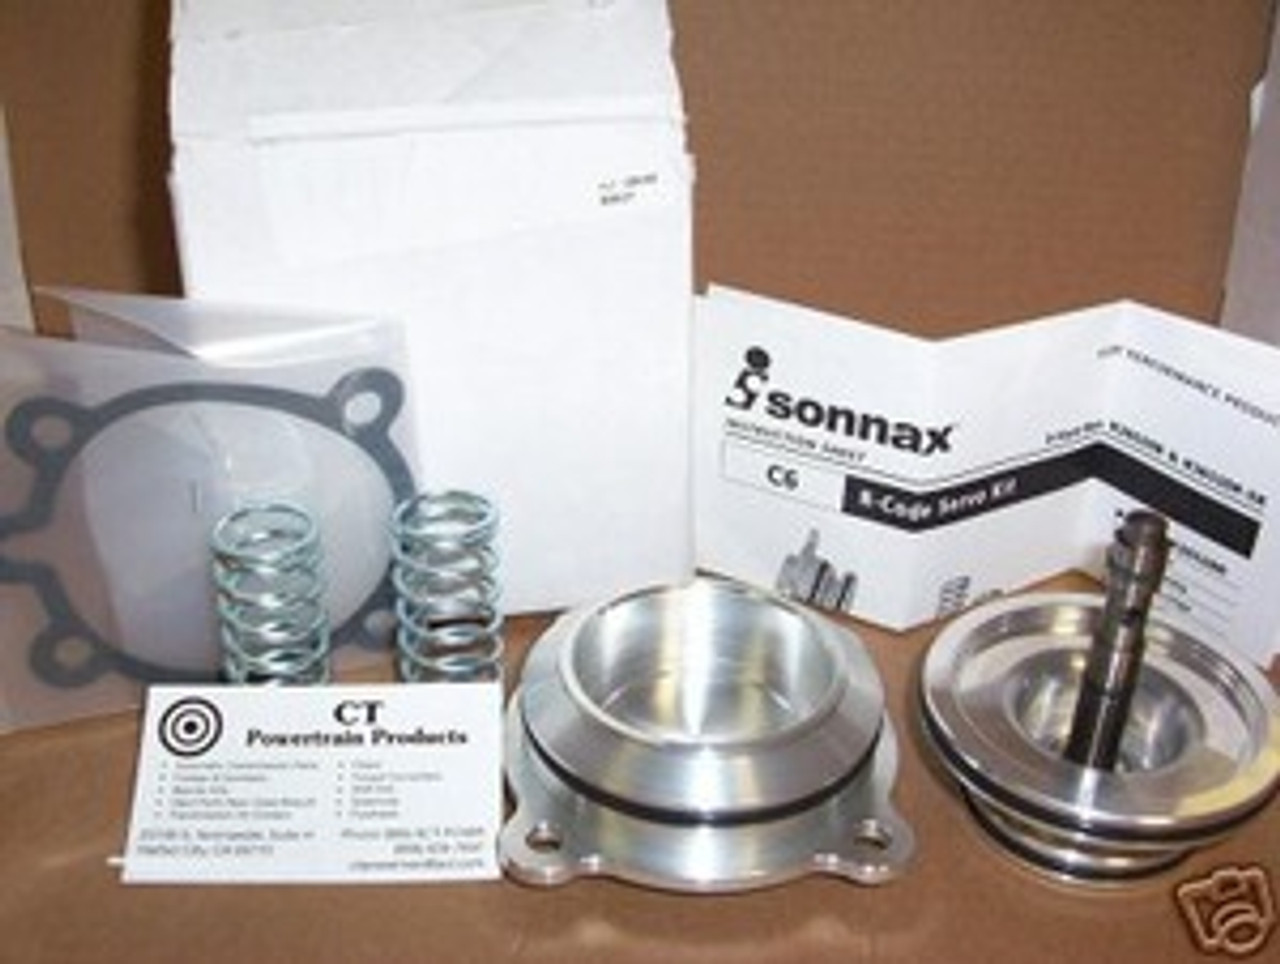
K36528R C6 Sonnax Billet "R" Super Servo New
This Is A New Sonnax Billet Super Servo Kit For These Automatic Transmissions;
Ford Lincoln Mercury
C6 1966-early 1968 Machining Required Please See Instructions
C6 Late 1968-on Bolt In Unit No Modifications Needed
This Is The Largest Band Apply Servo And Is Like The Stock Letter "R" Code.
Part Summary;
Since Its Introduction In 1969 With The 428 Scj, The R-code Servo Has Remained The Trick Piece For C6 Builders Needing Additional Band Apply Force. Ford Last Offered An Oem Replacement In 1992. Sonnax Is Reintroducing This Servo Kit With Our Unique "No-leak"Servo Pin. This Pin Uses Two O-rings To Eliminate Back Pressure And Leakage Due To Worn Case Bores.
This Kit Will Offers These Features;
Over 9 Square Inches Of Apply Surface Results In More Band Apply Force
"No-leak" Servo Pin Design Allows The Servo Piston To Be Used In Worn Bores
Three Selective Return Springs Allow For Tuning Of The Shift Quality
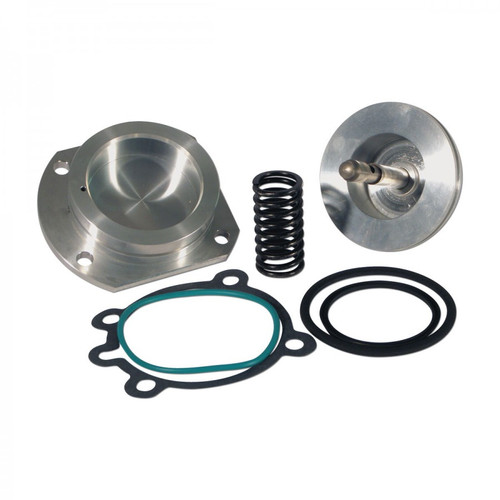
This Kit Includes:
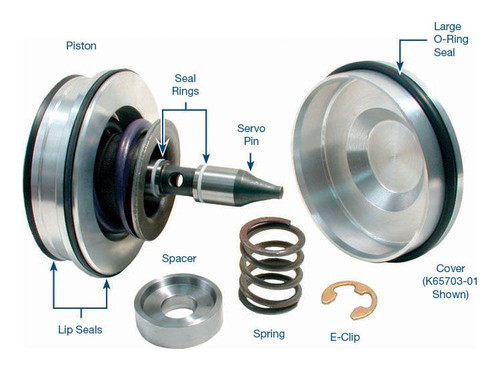
New Updated Sonnax "R" Piston And Pin
New Billet Cover
New Servo Gasket
New High Temperature O-rings
(2) New Selective Return Springs.
New Sonnax "R" Servo Piston With Hi-temp O'rings And Teflon Shaft Seal.
Install Instructions:
1. Remove The Old Servo Assembly And Clean Inner Bore And Gasket Area.
Note: Some Servo Modifications Involve Blocking Feed Or Exhaust Passages In The Case. These Modifications Must Be Removed. For
Proper Operation Of This Servo, Ensure That The Exhaust Passage And Both Oil Feed Passages Are Unrestricted.
2. This Servo Kit Is A Drop-in Item For 1968 1/2 And Later Models. Models Previous To This Will Need To Be Bored
Out To Ø3.493"/3.495" With A Surface Finish Of Less Than Ra16.
3. Choose One Of The Two Return Springs. The Small Wire Diameter (.105") Spring Will Result In A Quick 1-2 Shift But
A Slower 2-3 Shift. The Large Wire Diameter (.120") Spring Will Give Both A Quick 1-2 And 2-3 Shift.
4. Generously Apply Transjel™ To The Servo Bore In The Case.
Note: Teflon® Seal Ring Is For The Servo Lever End Of The Servo Pin.
5. Insert The Servo Assembly Into The Case. Insert Bolts And Tighten.
6. Adjust Band According To Manufacturer’s Specifications.


